|
I used PSP Version X
for this tutorial, I am sure it will work in other
versions as well.
You must have a
working knowledge of Paint Shop Pro.
This is my own
creation, any resemblance to any other tutorial is
merely coincidental.
Terms Of Use
Supplies
Plugins, Richard Rosenman Grid, Free
Filter.
Here.
Install in your plugins folder. You will need the
Eliminate White filter,
Here
Paint shop Pro and
Animation Shop.
Supplies
Here
All supplies are copyright by me
except when stated. |
| 1. Open a new transparent image, 600X600 pixels.
Flood fill with white. |
| 2. Go to selections, select all,
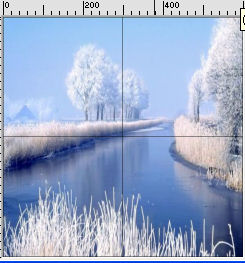
add a new layer. Open the picture provided, cold.jpg or one of
your own, copy and past into selection. Deselect. |
|
3. Add a new layer,
flood fill with white Go to Effects, plugins, find the Richard
Rosenman
Grid filter, See
settings below, do not forget to the border and the
colors of the line and background.
 |
|
4. After clicking ok, go to Effects,
find the eliminate white, mine is called Transparency.
Below is what I have.
 |
|
5. Making sure you are on the grid
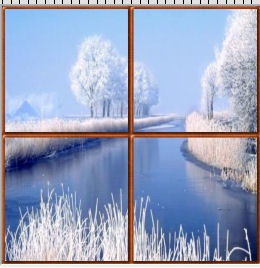
layer, go to selections, select all, float and defloat.
The gird should be selected. Next, go to selections,
modify, expand by 6, flood fill with a color or pattern
of your choice. I used a wood pattern, it's included in
the zip. |
|
6.While
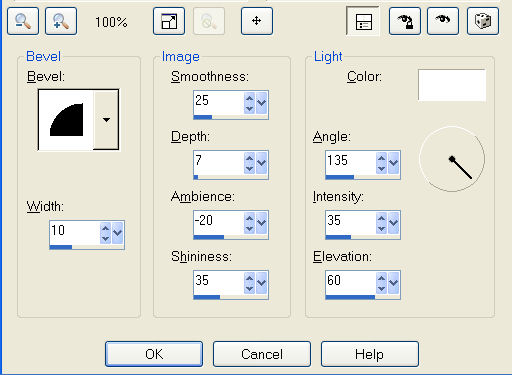
still selected, give it an inner bevel. See below for
the settings I used. Select none.
  |
|
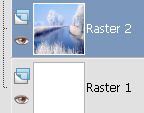
7. Making sure you are on the picture
layer, by going to the layer palette. Open the girl
tube, Jane's girl, copy and paste as new layer. Resize
90%. Place her
on the right so that her foot looks like it is resting on
the window frame.
 |
|
8. Open the snow-bank image, copy and
past as a new layer, move it down under the girl tube, so
that it looks as if she is sitting on it. Add a drop
shadow with the settings below.
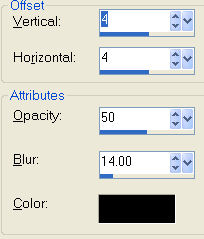 |
|
9. Add your name and copyright if
required. |
|
10. Getting ready to
animate with snow. Go to the layer palette, hide Click
on the eye and hide the window frame.
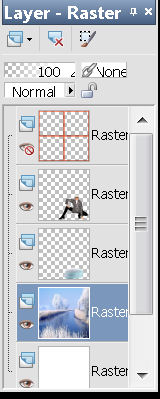 |
|
11. Open animation shop, in PSP , go
to edit, copy merged, got to animation shop, edit, paste
as new animation. Open the snow provided in the
materials. |
|
12. The snow gif has 20 frames,
therefore we have to duplicate our tag image 19
times for a total of 20. I duplicate it 4 times, go to
edit, select all, back to the tag image and duplicate
for a total of 10. go to edit, select all, duplicate
once more for a total of 20. |
|
13. Next go to the snow animation then
go to edit, select all, copy, go to the tag image,
select all.. Go to edit, past into selected frame,
with the mouse, place the snow in the first frame, try to
get the snow centered and click the mouse button, You
will end up with the snow in all the frames. |
|
14. Back to PSP, Unhide all layers ad
hide the picture ad white layer. Go to edit, copy
merged, go to animation shop, and paste as new
animation, next, edit, copy, set aside and on the tag
image with the snow, edit, select all, and activate the
propagate paste, you can find it in edit. Next go to
edit again, and paste into selected frame. the image
will be pasted in all 20 frames. Now, view the animation
and save as a gif. |
|
Feel free to add any
tubes, elements as you choose |
|
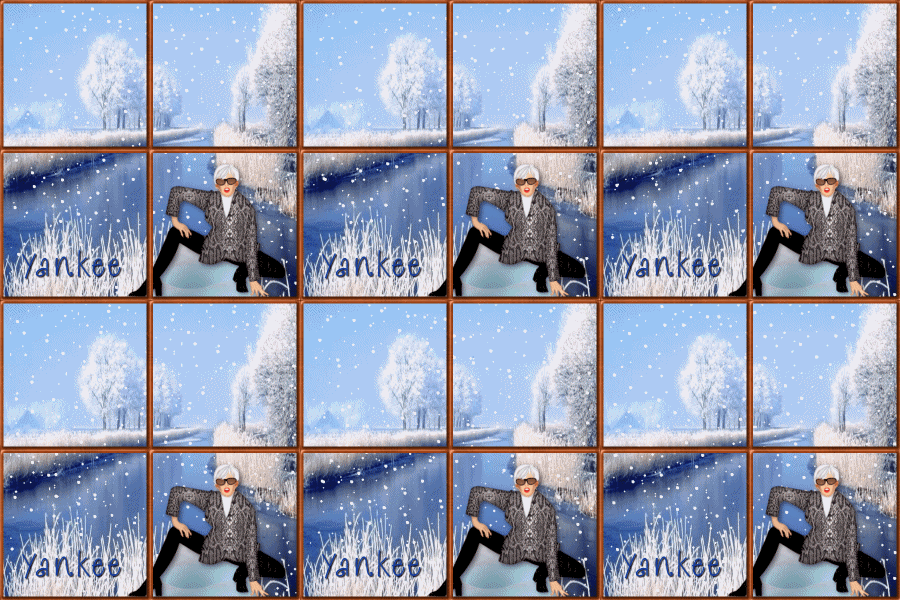
Back to Top

 ęby Jane's
Haven all Rights Reserved Except Where Otherwise Stated.
|