|
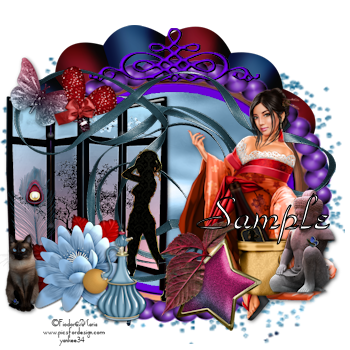
I am using Paint Shop Pro version 2019, any version will work. Supplies Needed A scrap kit the one I am using you can purchase at Pics For Design, it is very inexpensive. Just go here if not there, search for, Uan Norella. The tube I am using is also from Pics For Design by the fantastic artist Fiodorova Maria Filters None. Email Me You can use the fat pencil to mark the line you are on.
|
||||
|
3. Paper 10, copy and paste as a new layer into the bottom layer, using the mask you choose, merge group. |
||||
|
|
||||
|
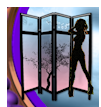
4. Element 32, copy and paste a a new layer, resize 50%, place to the left, drop shadow, H and V-2 opacity 60, blur 10 black. copy and paste as a new layer element 02, resize 50%, place it behind the screen, duplicate to the front of the screen, line them up so that you see just one. See illustration below.
|
||||
|
|
||||
|
5. Using the selection tool, rectangle, click on the silhouette in the layer palette, the one that is in front of the screen, we need to remove the legs and feet, so it will look as if it is all behind the screen. make a selection around the lets and feet below the screen, see below. press the delete key.
|
||||
|
|
||||
|
6. Element 23, resize 30%, should be in the top layer in the layer palette, place left at the bottom, drop shadow. All of the elements are paste as a new layer, unless otherwise stated. |
||||
|
|
||||
|
7. Element 30, resize 30%, place bottom right, mirror by holding down control key and pressing M key, add drop shadow. Next, element 21, |
||||
|
8. Lets add the main tube to the right, resize if needed, bring the elements to the front of the girl tube, I am going to place many of the elements to the front bottom of the tube. |
||||
|
|
||||
|
9. Element 10, place next to the bottle in ice, add a drop shadow, H,V-2, opacity 60, blur 10, black. Element 12, resize 50%, place on the left side of the top of the screen, add. rotate right a bit, drop shadow. |
||||
|
10. Element 09, resize 30%, place on the top left on the screen, rotate right a bit and drop shadow. Element 15, place on the screen, in the layer palette is should be under the silhouette, drop shadow. Below is where we are now.
|
||||
|
11. Element 18, resize 50%, place at the bottom, add drop shadow. Element 17, resize 50% two times and place with the heart. Element 24, resize 50% and place on the left. |
||||
|
|
||||
|
12. Element 26, it goes on the bottom left. Element 39, resize 50% place to the bottom left. |
||||
|
13. Element 27, resize 50%, place at the top and just above the mask layer, so that it is peeking out of the top. Add a drop shadow. |
||||
|
14. Add the copyright and a name, save as a Png. I hope you had fun, thank you for truing my tutorials. |


