|

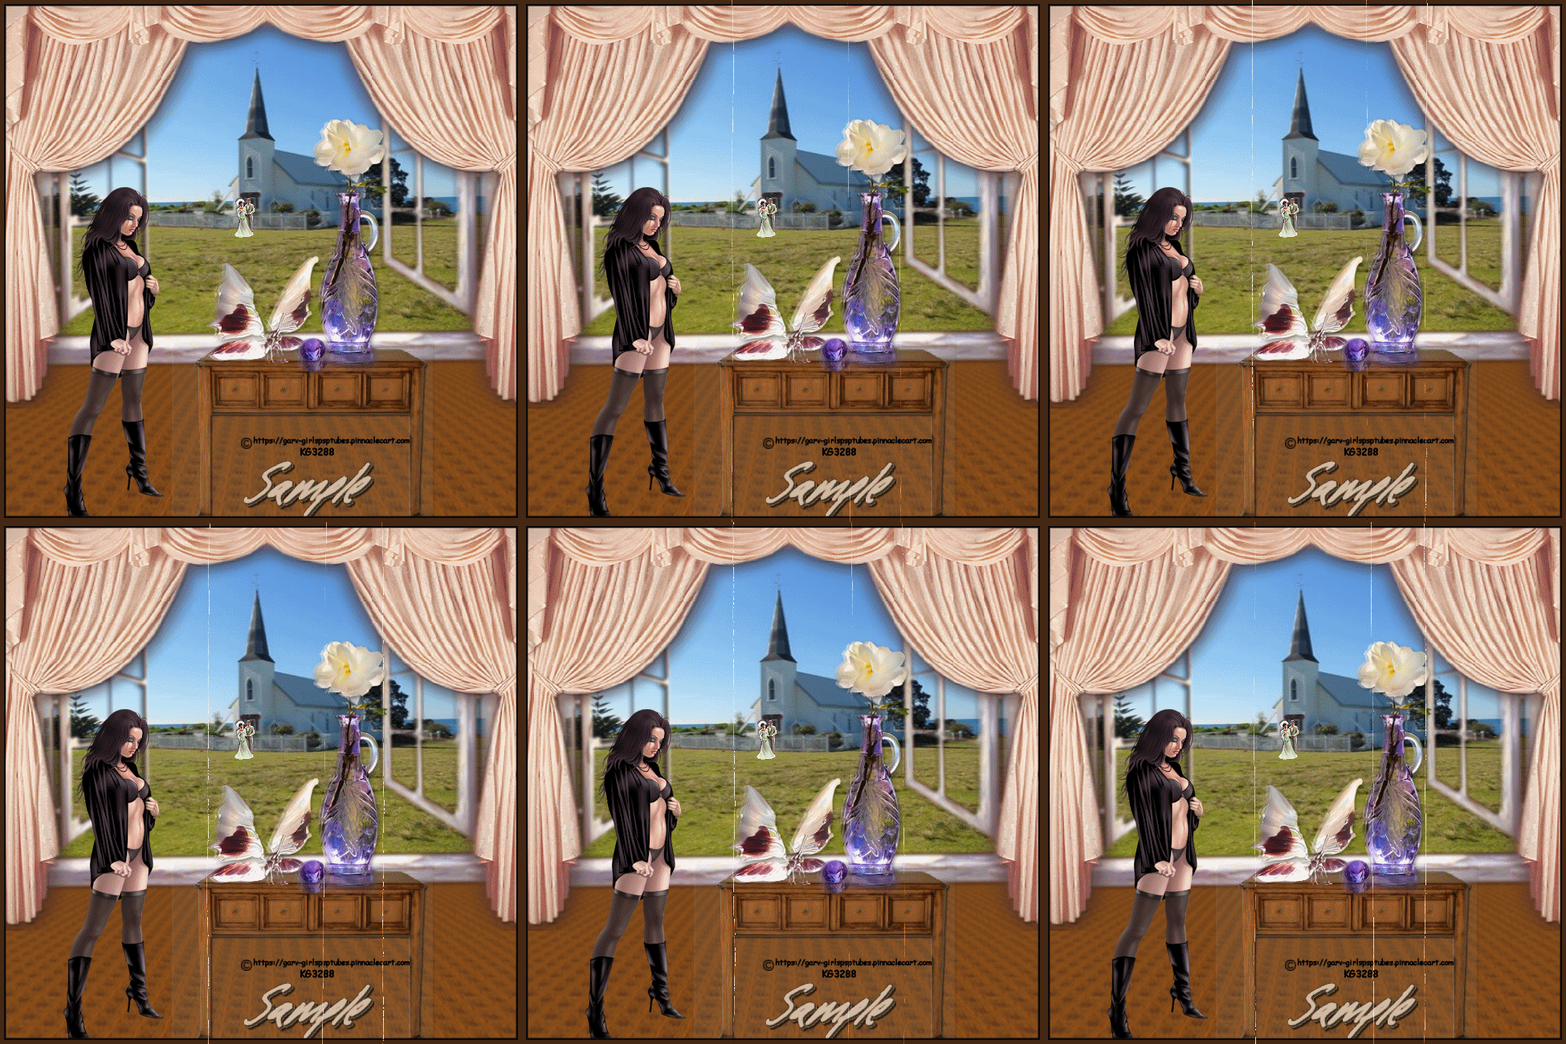
The Wedding
Paint Shop Pro
Tutorial
I used Version x5
but I am reasonably sure it can be done in many other
versions as well. You must have some knowledge of
Paint Shop Pro
by
Jane's Haven
Any Questions?
Contact US
Supplies you will need.
Paint Shop Pro any version.
A tube, the tube I am using is the gorgeous art of Keith Garvey, you can purchase a liense Here
No Filters Needed.
Font of your choice.Supplies
Use My Fat Pencil to drag to the place where you are in the tutorial.

|
| 1.Open a new transparent image, size, 650X650. |
| |
| 2. Copy the church image and paste as a new layer.Move to the top. |
| |
| 3. Open the floor, copy and paste as a new layer. Move to the bottom. |
| |
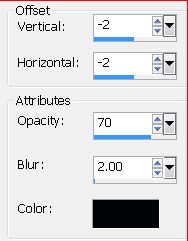
4.Copy the bride image and paste as a new layer in front of the church, move it where you like. See my original tag. Add a drop shadow, the settings I used are below.
|
| |
| 5.The window, copy and paste as a new layer, place at the top. |
| |
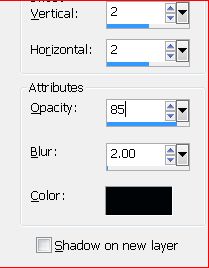
6. Copy and paste the curtain as a new layer, place over the window and add a drop shadow. I used the settings below.
|
| |
| 7. Copy and paste as a new layer the desk, move it below the window to the right. Add the same drop shadow as the one above. |
| |
| 8.Add the decor and on the desk and duplicate, on the orginal decor move slightly to the left and reduce the opacity to 50. Repeat this with the vase. |
| |
| 9.Add your main tube on the right and add a drop shadow. |
| |
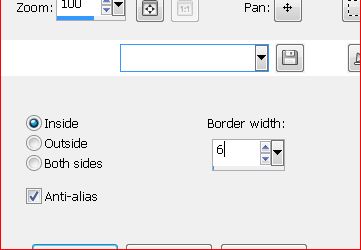
10.Activate the top layer by clicking on it, select all, go to selections, modify, select selection borders, add a 6 and tick inside. Add a new layer and flood fill with a color of choice, I ued, #452813. Deselect
|
| |
| 11. Again, activate the top layer, select all, contract by 6. keep selected, now go to selections, modify, select selection borders, add a 2. Next add a new layer. flood fill with black. Deselect. |
| |
| 12. Add the copyright and a name. |
| |
| 13. If you are satisfied with your tag, open animation shop. In psp on the tag. edit, copy merged. go to animation shop and click paste as a new animation. |
| |
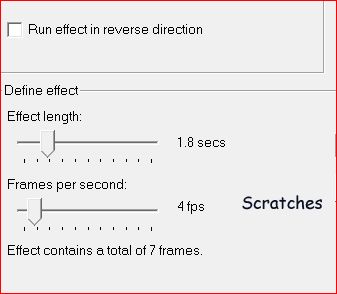
14. Next, go to the menu and the top, effects, on the sub menu, click insert image effects, whenit opens, open the menue click on Scratshes, use the setting in the illustration. Click OK.
|
| |
| 15. Save as a gif. |
| |
©by Jane's
Haven all Rights Reserved Except Where Otherwise Stated.